The Workspace Sandbox
Before you get started working with external editors, it important to understand how the Game Creator’s Workspace and the Sandbox folder work. When you boot up the Game Creator, it automatically creates a workspace for you. This location is based on which OS you are running it on. You can see the Workspace’s path by going into the Workspace Explorer Tool.
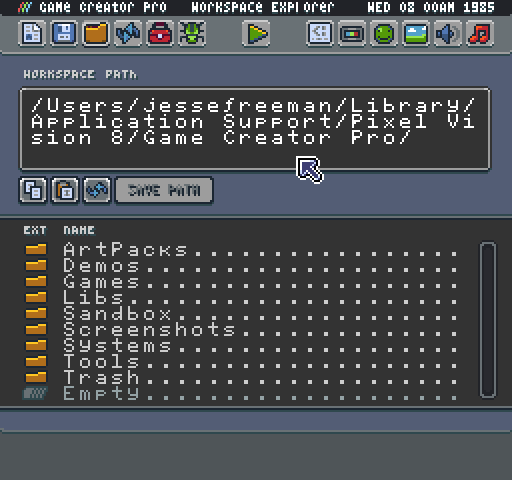
From inside the Workspace Explorer Tool, you can get the path by clicking on the Copy button below the path window.
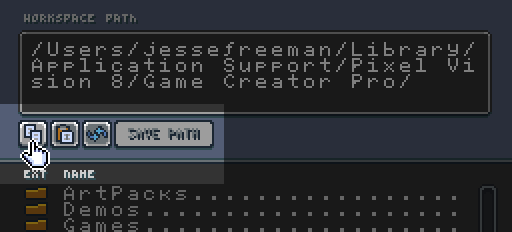
Once you have the path in the clipboard, just navigate to it on your computer, and you will have access to the Workspace on the filesystem.
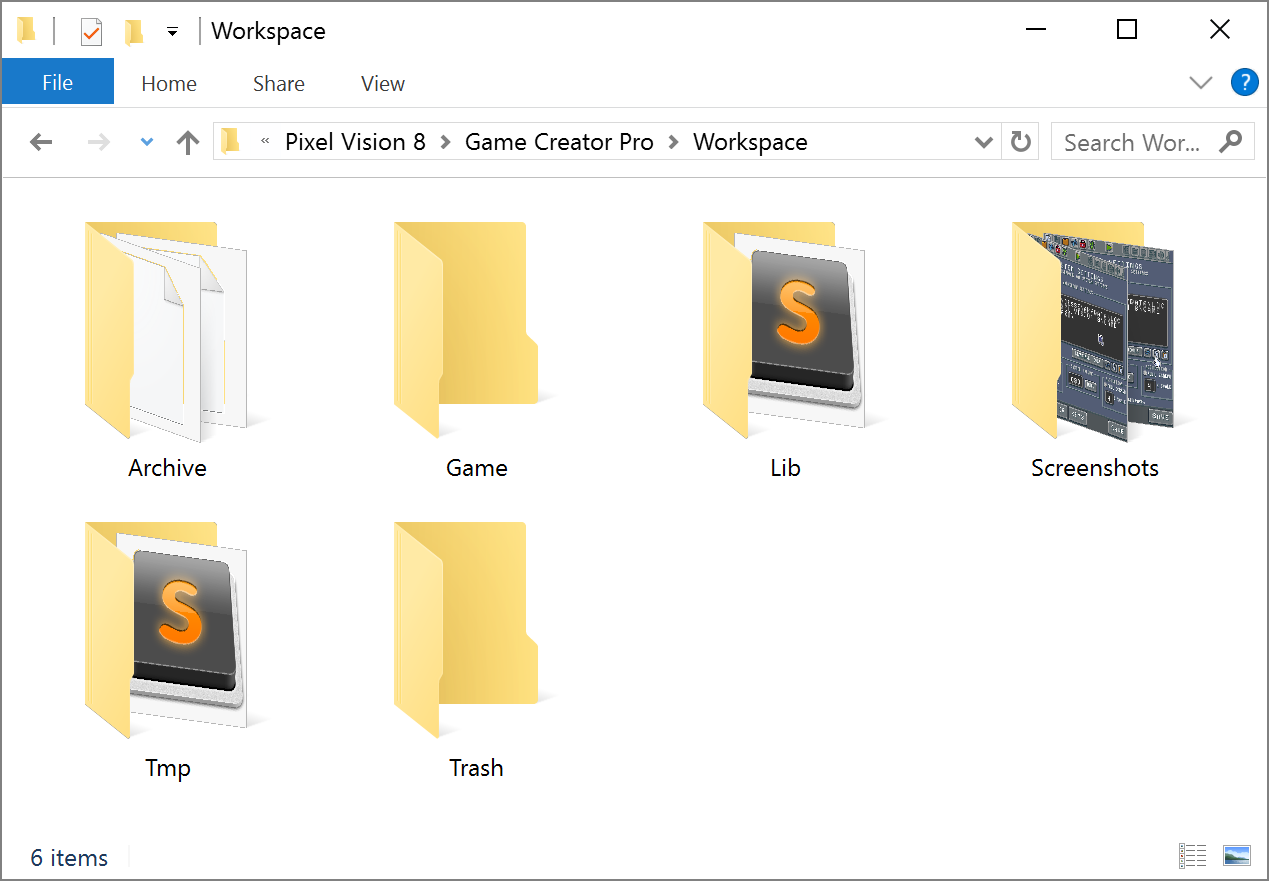
You can learn more about how this folder works by reading the Workspace section of this book. Right now we are just going to focus on the Sandbox folder. When you begin editing a game, its contents are added to this folder making it easier for you work with. As an example, let’s edit the Tilemap Demo in the Workspace/Demos directory.
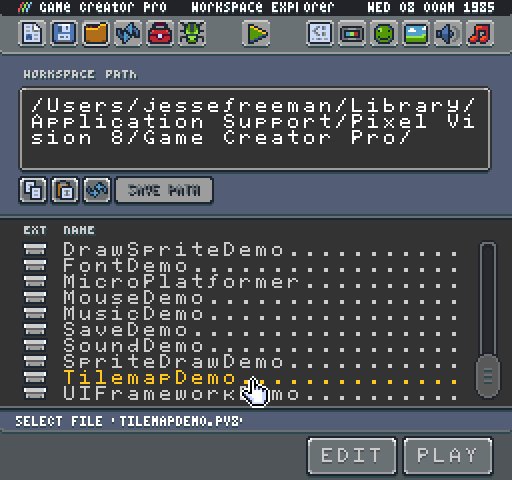
Once edit, you will see the projects contents inside of the Workspace/Sandbox directory in the Workspace Explorer.
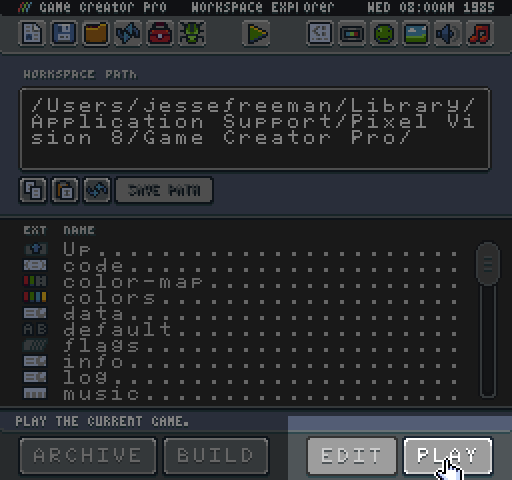
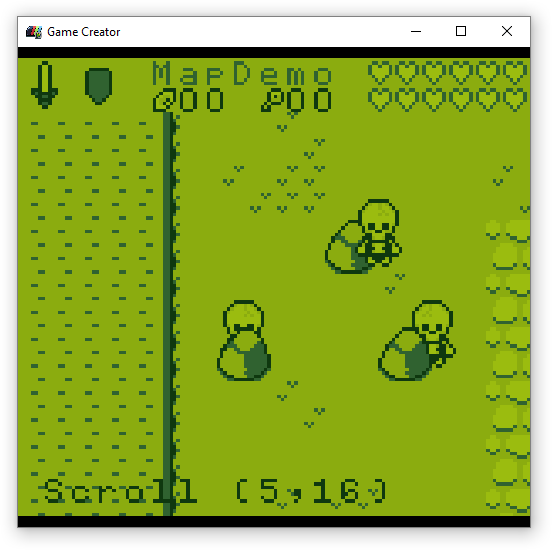
Clicking Play will run the game and you’ll now have a copy of the Tilemap Demo ready to be modified.
Now if we look in the Workspace’s Sandbox folder, we have access to all of the files that make up the game.
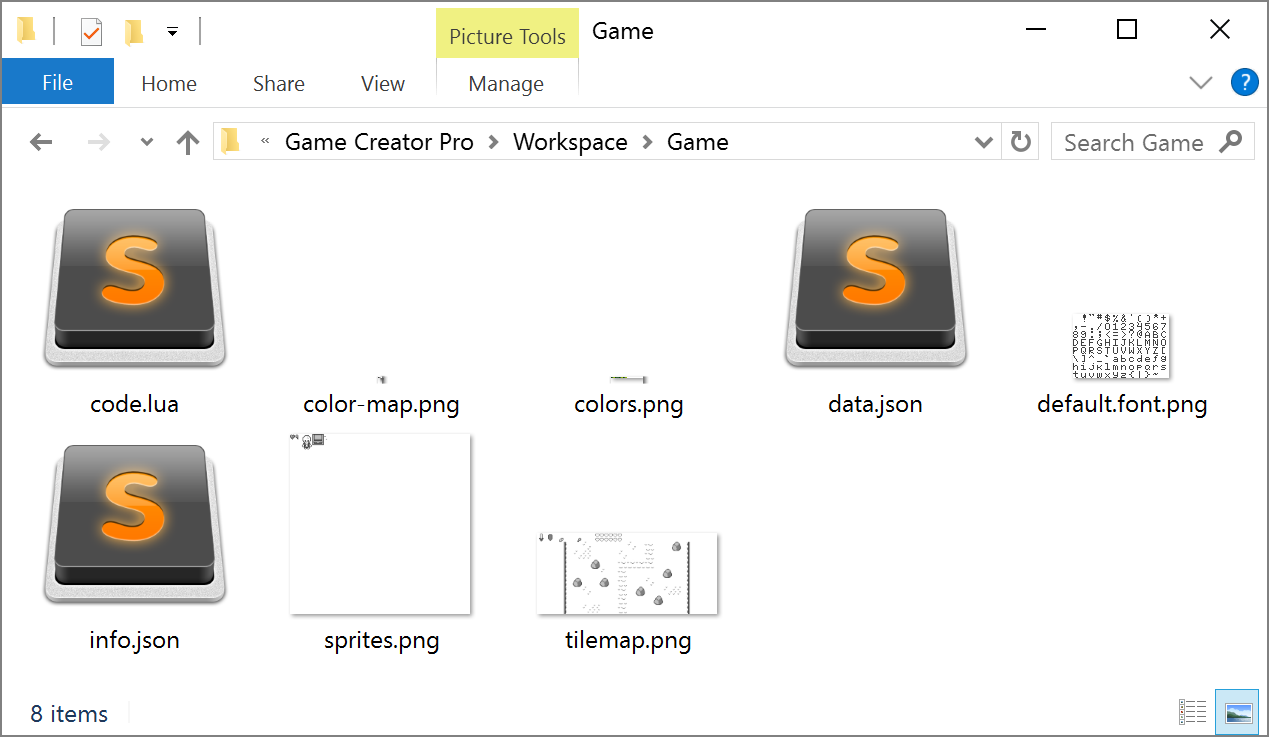
A normal Pixel Vision 8 game is comprised of two types of files: text, and png. The code.lua, data.json and info.json files are all text based and are editable in any flat text file editor you like such as Atom, Sublime Text, Notepad ++ or even Visual Studio Code. You can also load these .png images in Photoshop, Gimp, Aseprite or MS Paint if you wanted to. While the pro version the Game Creator includes tools for working with these files, each of them can be modified by hand and then reloaded at runtime to see the results.
Feel free to use whatever tools you are comfortable with when creating games in the Game Creator. The workflow was designed to be open so you can be as productive as possible.